Do you know how to record quality, home-made audio?
If you answered “yes” to that question, then skip the reading bit, scroll down and tweet us YOUR top tips to record quality audio! If you nervously replied “not really” – then please read on…
Authenticity currently rules, so what can beat audio and video content made at your own convenience, right? The combination of a global pandemic and the evolution of the digital world has meant that more and more people are creating content at home. Most people have a camera and microphone in their pockets/hands most hours of the day so the capacity and potential to ‘create’ is far greater than ever before.
From citizen journalism, to company testimonials, to theatre performances via zoom – more and more is being asked of us to make “home-made” content. It can be really valuable in making reactive, fast paced, personal items, whilst looking and sounding good, too! Therefore, not only opening up the speed at which things can be produced, but also the opportunity to involve a wider variety of contributors without the usual concerns about location, time or budget constraints.
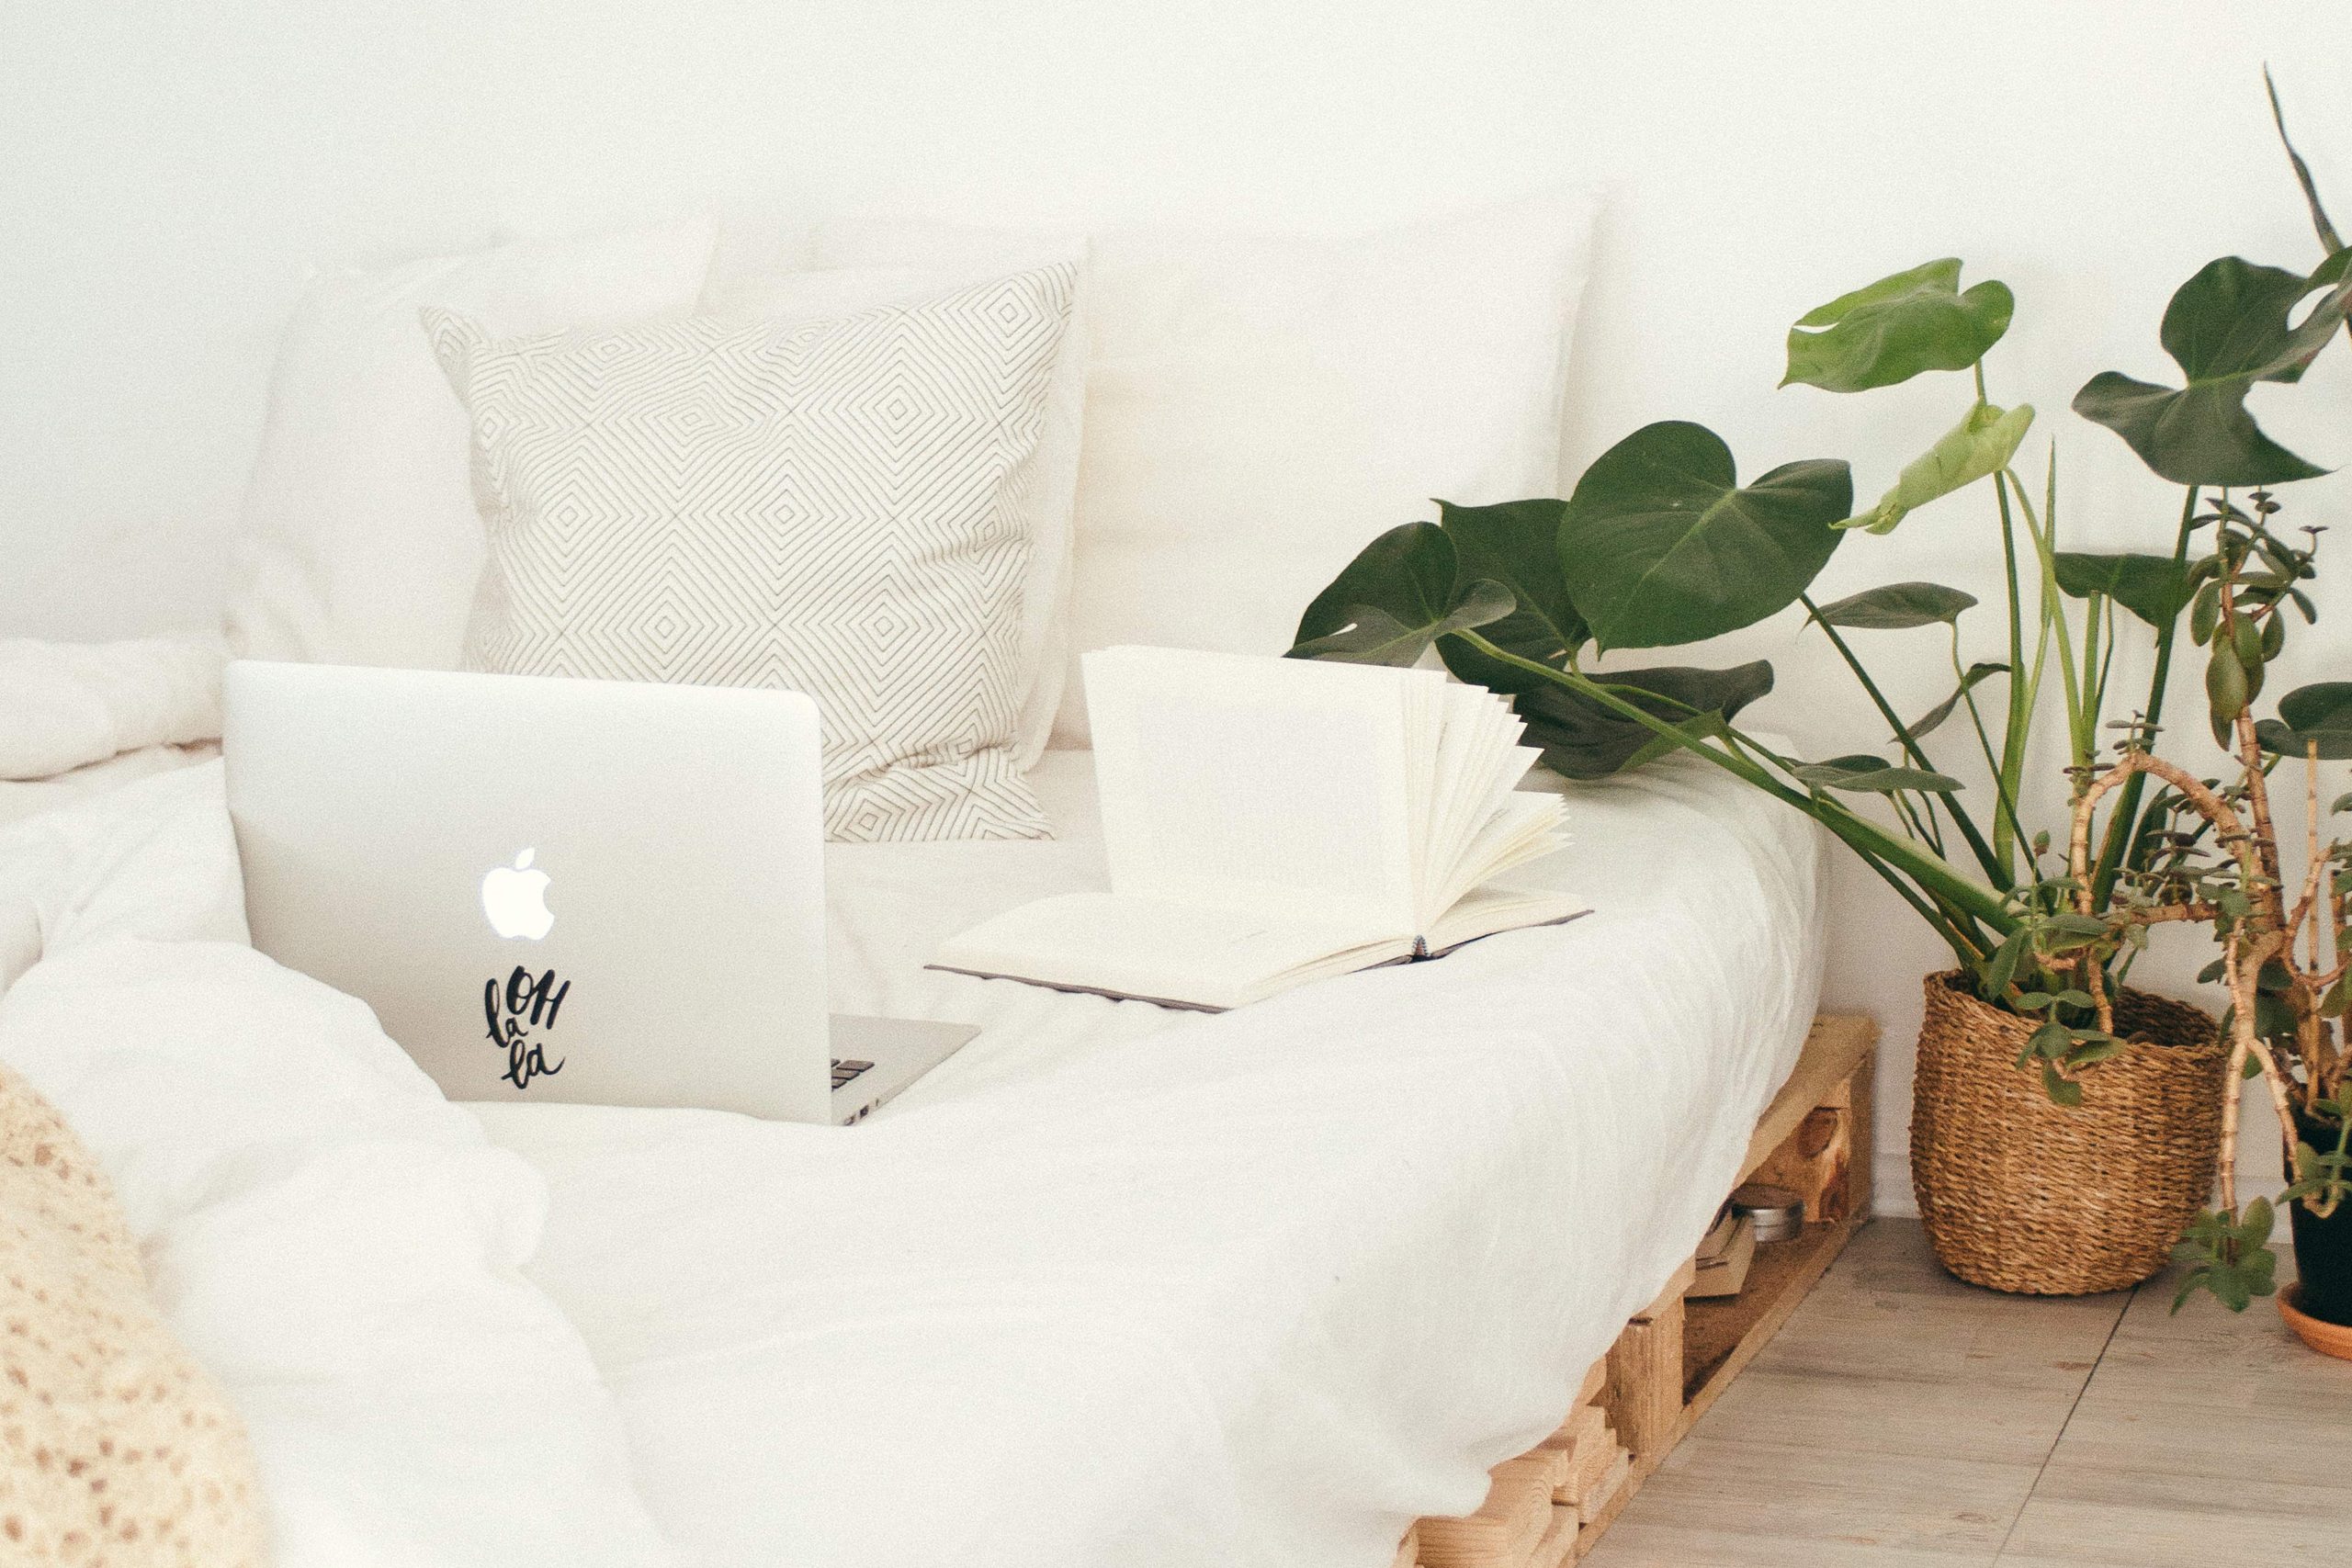
For any of you who have listened to a podcast made during lockdown, this is testament to that (Louis Theroux, we’re looking at you!)! You can quite simply record a top-class piece of audio [in your wardrobe] with the kids running around outside the door (but ideally not for sound quality purposes, as you’ll later see!)!
To aid you, and us, we’ve rounded up the most simplified Top Tips for recording home-made audio, without the need for any high-quality equipment. When you look up “How to…” online, things can get very ‘techy’ very fast, so from one novice to another, here’s what we’ve found useful…
Top Tips
1. Environment
2. Microphone
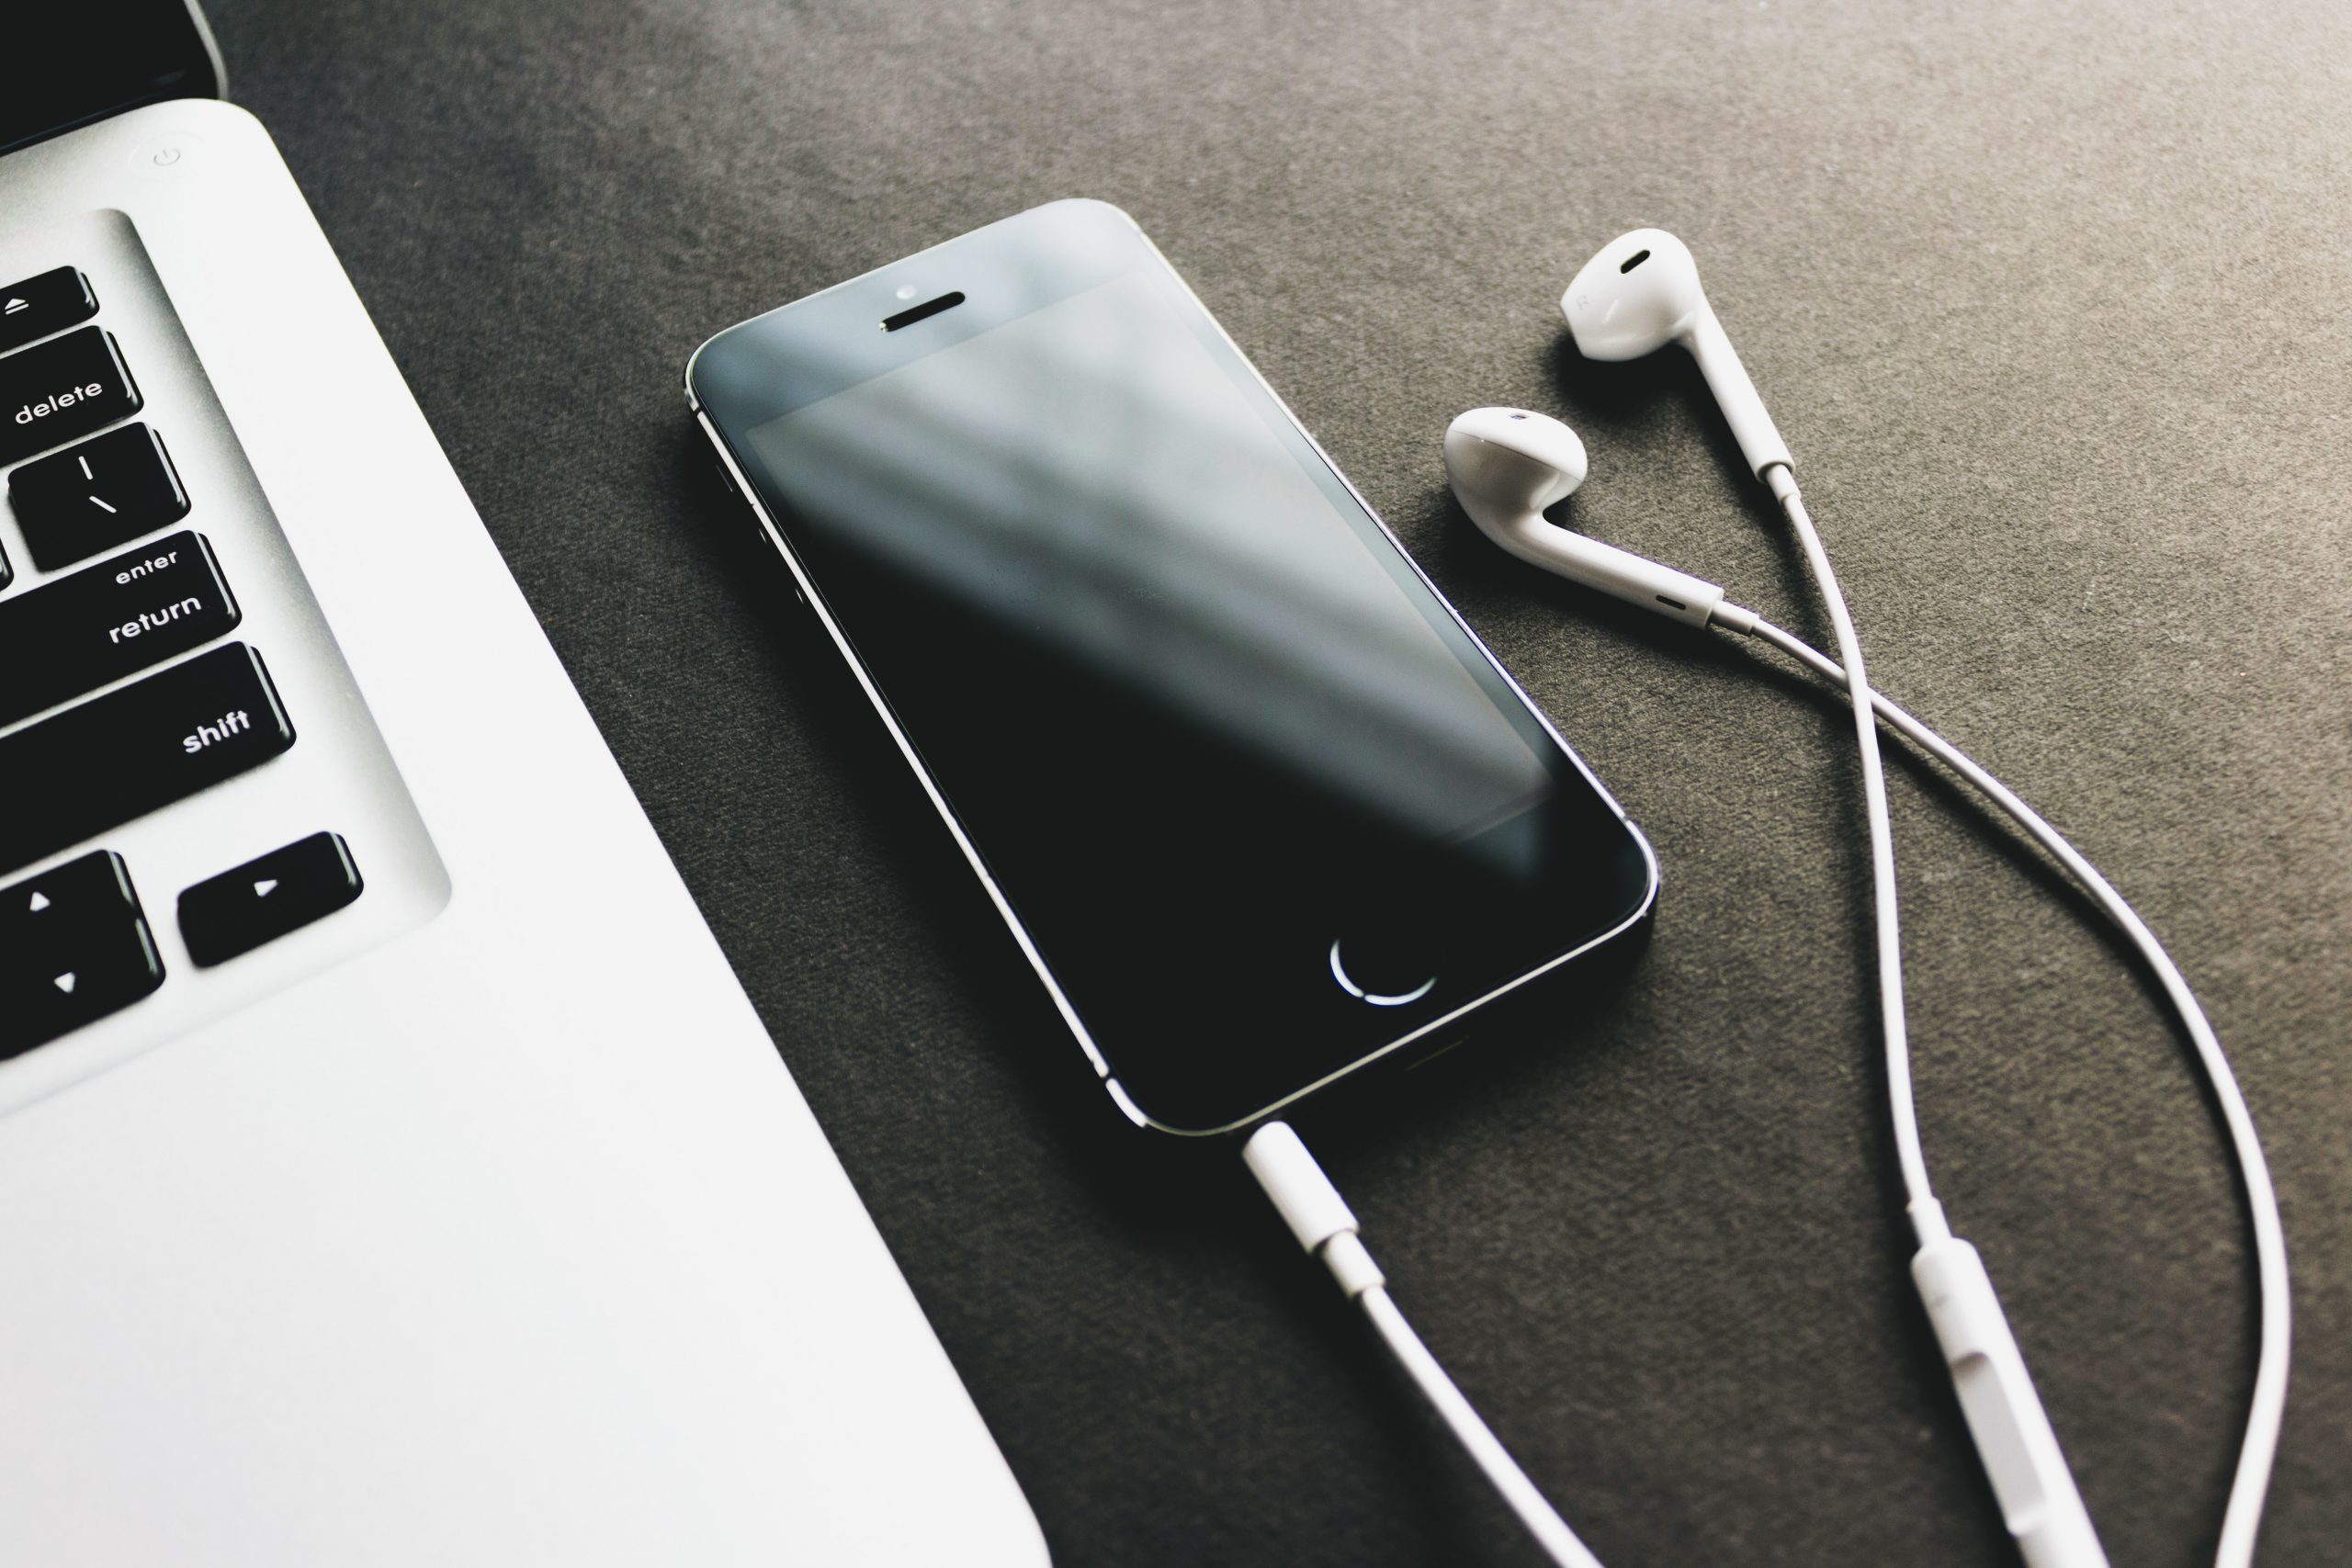
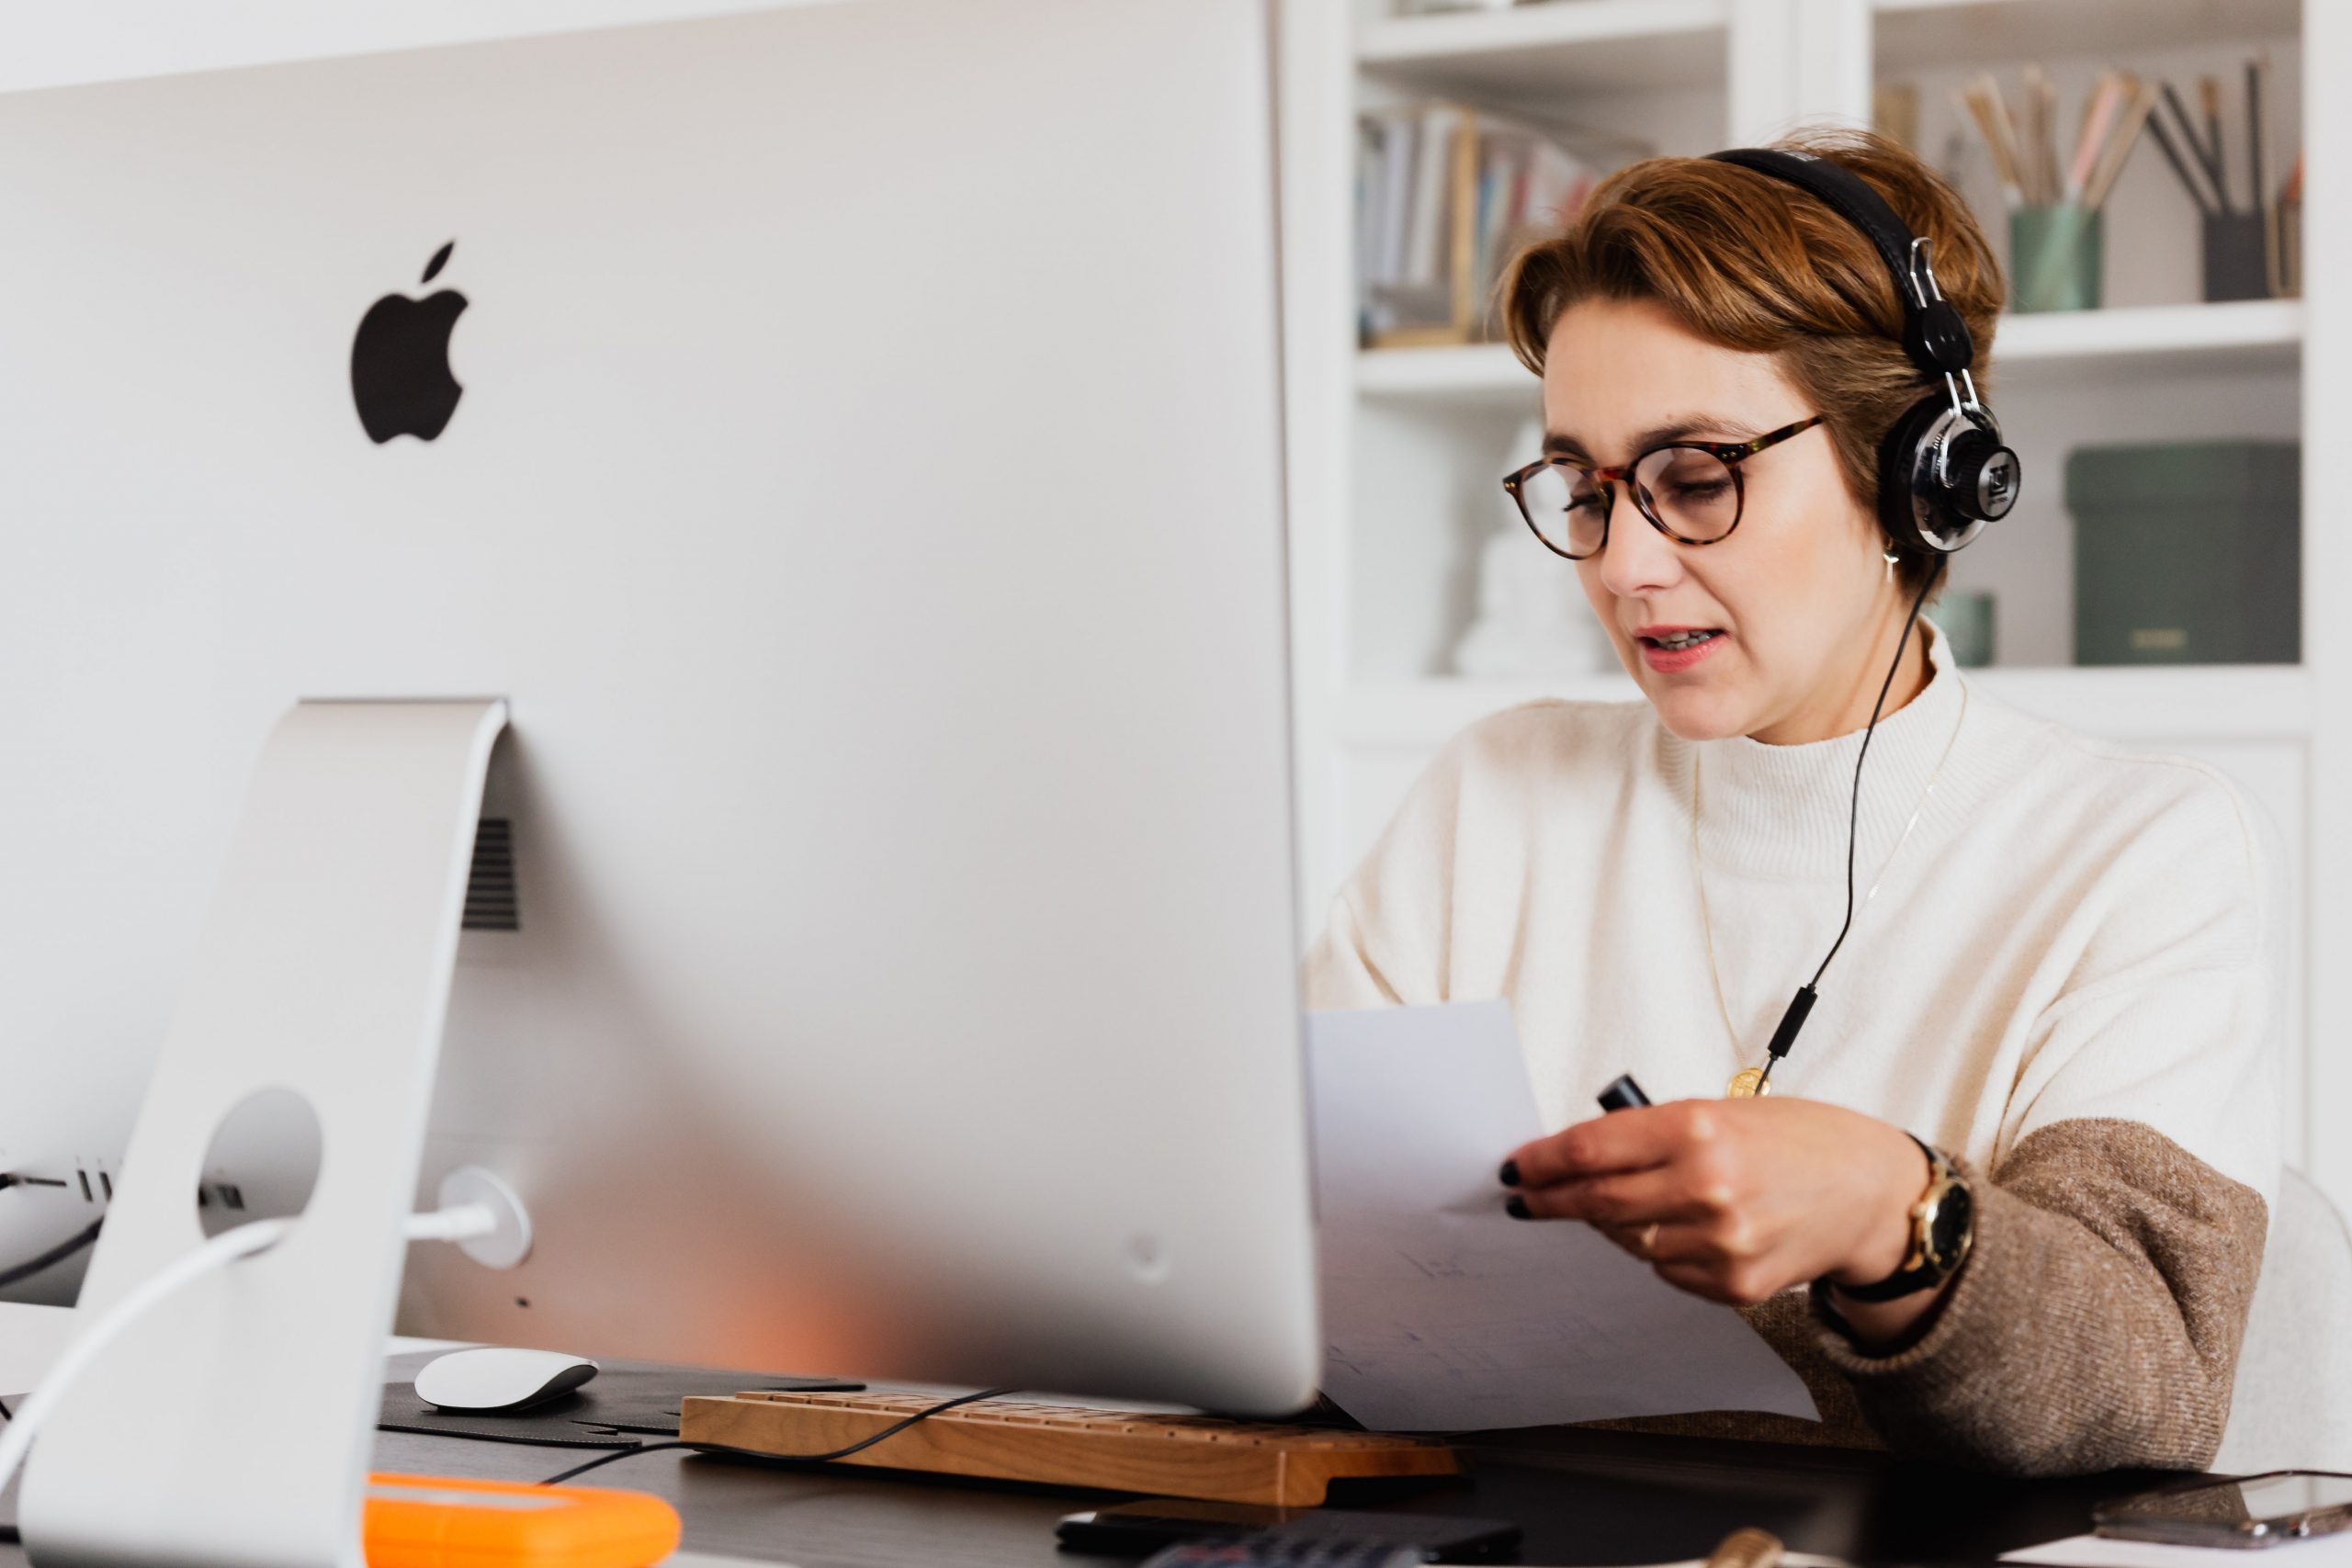
- If you have a ‘decent’ phone/tablet/laptop/computer, you most likely have a ‘decent’ microphone. If used well, this might be all you need! The headphones/earbuds that come with your device (and have built in mics) are even better to use!
- Dedicated recording apps exist to record good quality audio, so it might well be worth investigating in your app store and trying a few out to find one that suits your needs.
- Obviously, purchasing a microphone will improve the quality of the audio you can create, but if you aren’t regularly recording, it may be a high price to pay when you have tools available [as described above] that if used well, could save you time and money.
3. Sound quality
- Sit your microphone on something, so you don’t hold it, touch/tap it or move it around as this will cause changes in the audio quality.
- And now the opposite advise: if you are using your headphone microphone that dangles down on the wires, don’t let it rest against anything (ie your chest, clothes) as it will cause rustling noise.
- Practise to get the best sound quality: change up your distance from the microphone to figure out where sounds best. If you’re too far away background noise will be picked up, if you’re too close plosives will sound poppy. Using a ruler to figure it out isn’t a crazy idea! That’s why you might sometimes see tape stuck to the floor on tv or movie sets, because that’s the best spot for visual and sound purposes. Make yourself feel like a movie star and tape the best recording spot as a reminder if you need it!
- Leave gaps at the start and end of recordings – they can be easily edited out, and just means nothing of what you say will be missed or cut off accidentally.
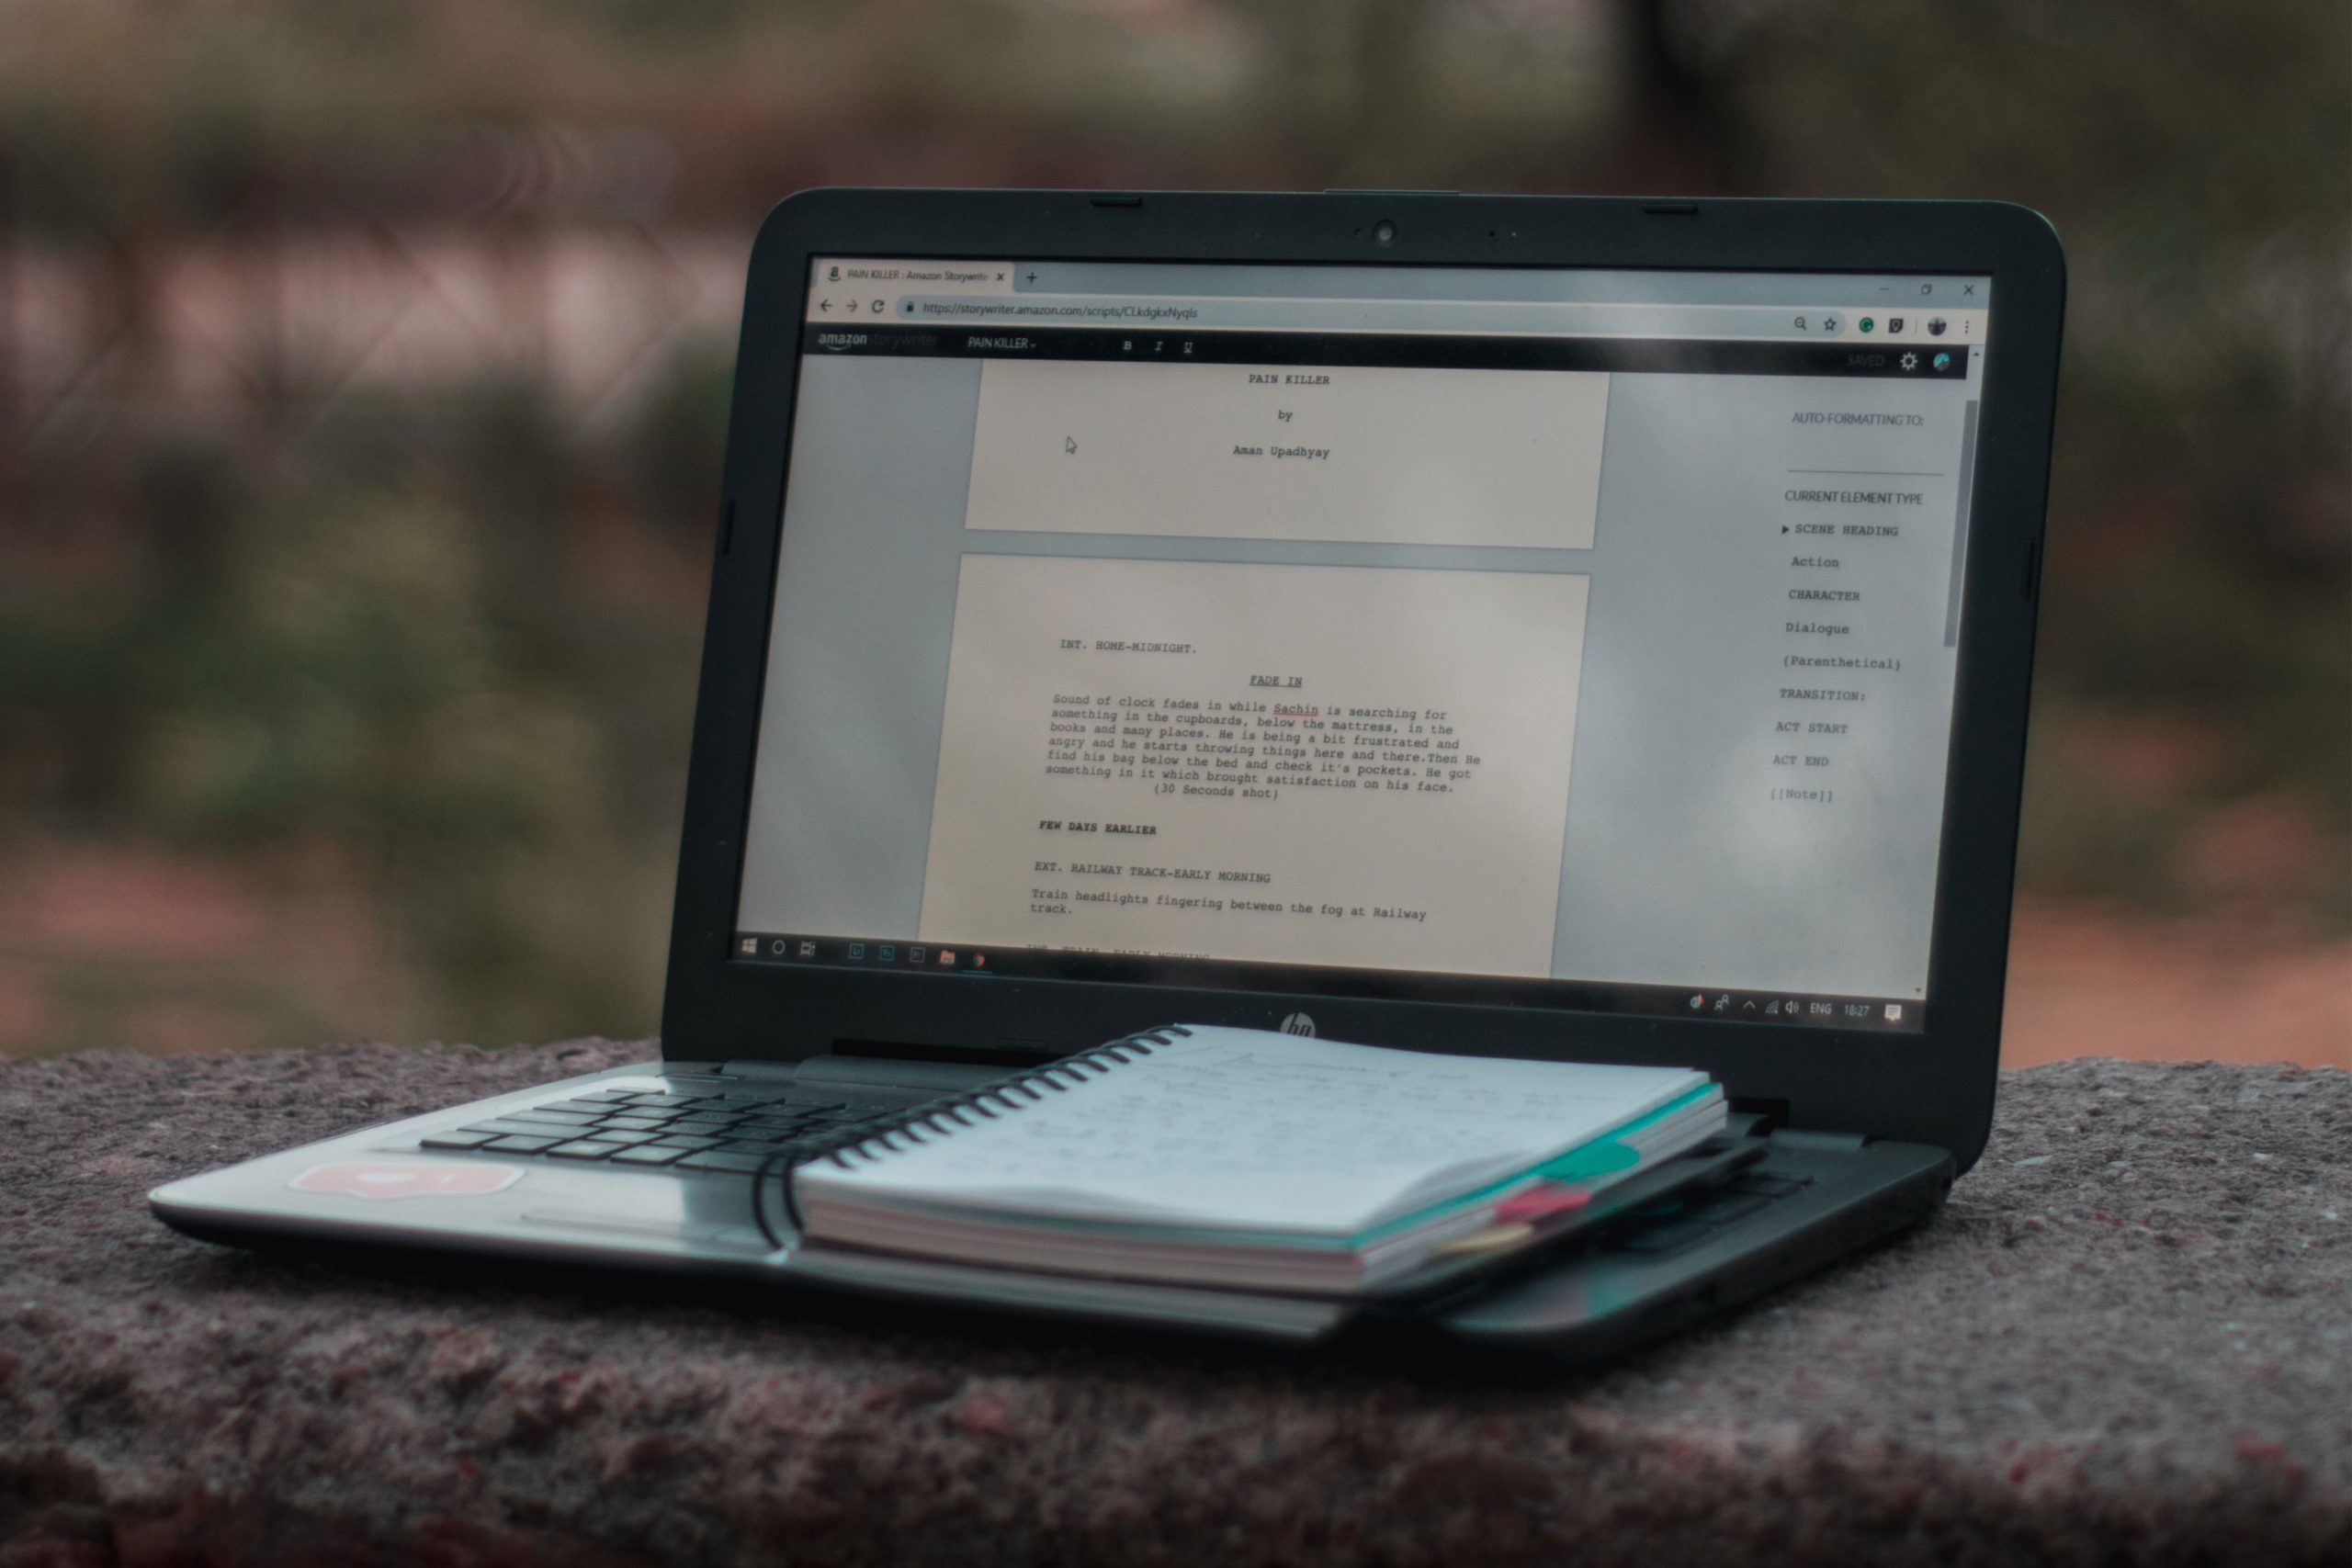
4. Script
5. Vocal warm up
These are the most simple top tips we could gather from the depths of the internet to record audio at home, to the best of your ability! If you have any top tips to add – please click on one of our social links below and tag us in a message with your advice, we’d love to hear from you and share what you have to say with our community!